
Hard drives terrify me. They are silent failure boxes that, despite the existence of SMART monitoring at the hardware level, will stab you in the back the first chance they get. So when two of them failed recently, almost simultaneously, I not only got a sobering reminder of mistrust. I also felt relief for using Gluster to manage archival data … and fear about using Gluster to rebuild my data redundancy capability.
I will admit up front: I miss magnetic tape. You can still pull magnetic tapes out of a dusty cardboard desk from under an old metal desk, pop it into a vintage tape drive, and read the data. I have recently been archiving old audio cassette tapes, including one recording from just months after I was born. And yet, despite advances in storage choices since the 1970s and 1980s, data storage reliability has not approached what magnetic tape storage seems to have achieved. For example, my “Babylon 5” DVD sets are a cherished item. They date back to the 2010s. When I recently went to archive them in digital format, nearly 33% of all data on those DVDs was unreadable.
WTF.
So when two magnetic spinning hard drives recently failed within days or weeks of each other, I got another wake-up call. One of the two drives was a “replica” in my Gluster-managed data storage system. The point of a replica is to be replaceable … but when one in a set of replicas fails, you just KNOW the clock is ticking on the other one. I sprung into action … and reminded myself of how to save yourself when one of your Gluster replicas fails.
What is Gluster?
Gluster is an open-source disk management system. It allows data to be spread over multiple physical drives, including across multiple different computers (e.g. on a network but not otherwise physically connected). I like to run my system using the “replica model”, where drives (“bricks”) are deployed in pairs. Each brick in a pair is a replica of the other so that if one fails the data remain on the other. Gluster will seamlessly keep serving the data … so long as you have one replica standing.
You only need stand up a new replica to recover your storage resilience.
What happened to my drives?
Not sure. I do SMART monitoring of all my hard drives and did not get any warnings before the drives became unreadable and began failing short and long offline tests of drive integrity. That concerns me, but likely points to a failure on my part to not be aggressive enough when it comes to watching SMART reports from my drives.
Observationally, two of the drives — one a Western Digital (WD) Red and one a Western Digital Green — simply became unreadable. The WD Green drive was a retired drive that I was using for scratch space. The WD Red drive was part of a replica pair for my Gluster system. The next step was to get my hands on some new hardware to create a staggering of drive ages in the replica pair. In the meantime, I needed to begin making a replica with whatever was on-hand.
Finding drives
Everybody recognizes the cost challenge in getting hard drives right now. First, supplies are not what they were a year ago. Prices are also much higher. Both of these appear driven by the rush to build more and larger data centres that can be used for training and deploying machine learning models, popularly called “artificial intelligence”. There seems to be a consensus that the present “AI boom” is likely a bubble, and when it pops there will be a lot of cheap hardware available.
But this is not that time.
Finding Western Digital (WD) drives that could be picked up or delivered on a reasonable timescale, at reasonable costs, was too hard. Instead, I opted for a Seagate drive. It could be delivered quickly and it was much less than comparable WD models. I will leave my opinions about WD vs. Seagate to myself … but I assure you, I have them, and I was a bit reluctant to buy the Seagate drives. But, desperate times …
While the Seagate was on its way, I scrounged my old spare drives. I hang on to functioning drives even after I replace them due to age (e.g. >5 years old). In their retirement, they serve as non-essential scratch disks for various applications. I found one with the appropriate size, moved data off of it, and quickly set it up to become a replica.
Swapping Replicas
My original WD Blue disk used the EXT4 filesystem. I’ve used EXT since I started on GNU/Linux in the 1990s. It’s a perfectly fine middle-of-the-road filesystem that has given me few hassles in 30 years. However, I took a moment to explore alternative disk file systems that might be better suited to the purpose of my Gluster system: long-term storage of files of various sizes, with a low read-write rate.
XFS1https://en.wikipedia.org/wiki/XFS kept coming up as an alternative to EXT4 for Gluster systems. XFS dates back to Silicon Graphics computers, which I originally used when doing circuit design for my first research project in University. When I started using GNU/Linux in about 1997, XFS was not an option in the Linux Kernel. I tend to stick to things I know when it comes to computers, so it’s no surprise that I did not go shuffling my disk filesystems around in the each 2000s when XFS became an option.
But, a failed drive offers new opportunities!
Gluster developers actually recommends XFS as the preferred filesystem for a disk deployment. 2https://docs.gluster.org/en/v3/Install-Guide/Common_criteria/ So, I learned how to format a disk using the XFS tools. Let’s assume that then the disk is connected to the computer it is identified by the kernel as device /dev/sdg. When I refer to this device below, I am referring to either the old WD drive or the new Seagate drive.
We can first partition the drive for XFS and then format that partition for XFS. I needed my partition to be a specific size (a few TB), but you can use the full drive. My example assumes you just make one big primary partition that uses the whole drive.
mkfs.xfs -i size=512 /dev/sdg1You can then add this partition to your /etc/fstab file. I prefer to list it in that file by the partition UUID. In XFS, you can determine this using
xfs_admin -u /dev/sdg1I have mounted my new Seagate drive in a path like
/gluster/seagate01/I then create a subdirectory here that will hold the replica brick contents:
mkdir /gluster/seagate01/brick/Now comes the moment of truth: when we tell Gluster to replace the old brick with the new one. If the disk server is located at a network address like 192.168.1.10, then the following command will force a replacement of the old brick with the new one:
gluster volume replace-brick <VOLUME> \
      192.168.1.10:/gluster/wd01/brick \
      192.168.1.10:/gluster/seagate01/brick \
      commit force
This process will take time. It’s a slow replication approach. For example, it typically took a few days to complete the replication of a few TB.
You can monitor the replication by spying on the Gluster Heal Daemon, or glustershd. The script below will check the contents of the log file and attempt to count the rate at which heals are occurring (e.g., heal actions per second). For my system, the rate in 60 seconds was about 20-40 Hz. When healing is completed, the rate over one minute falls to zero or close to zero Hz. You can use ‘gluster volume heal <VOLUME> info summary’ but if you have tens of thousands or hundreds of thousands of files to replicate, even running that command ONCE can take a long time. Monitoring the logs is better.
#!/bin/bash
tail -F /var/log/glusterfs/glustershd.log | grep --line-buffered -E "heal|completed|performing" | awk '
{
  now = systime()
  count++
  times[count] = now

  # drop entries older than 60 seconds
  while (count > 0 && now - times[1] > 60) {
    for (i=1; i<count; i++) times[i]=times[i+1]
    count--
  }

  printf "\rHeals/sec (last 60s): %.2f", count/60
  fflush()
}
'
Closing Thoughts
This was a nail-biter, but in a week I actually made two replicas. First, I used an older Western Digital Blue drive to step into the breach created by the failed Western Digital Red drive. Second, when the Seagate drive arrived I waited until the first replication completed and then started the process all over again using the new, larger drive. That process concluded in about 2 days, which wasn’t bad. I was just very nervous while all of that was ongoing.
I have also tightened my SMART monitoring. I had a loophole in my monitoring approach where I relied on the output of ‘df -k’ to tell me what drives I should be checking for errors. However, a failed drive will often fail to mount. Instead, I should have listed available drives (for SMART checking) using the ‘smartctl —scan’ command. Now, even if a drive fails to mount, I can automatically check its health. I verified that, putting back into service the old Western Digital Red drive, I was able to reliably detect that it was failed.
Now that I have built a comfort zone around replacing replicas, I plan to move some of my bricks around and improve the ability to replace them quickly. I’ve invested in more e-SATA ports for one of my servers and more external disk enclosures so I can quickly replace drives. The cost of hard drives is exorbitant right now, but I hope in a few years the market readjusts again. I am anxious about the cost of keeping reliable drives in service. I also hope for new storage technologies that provide more reliable, long-term storage.
Notes
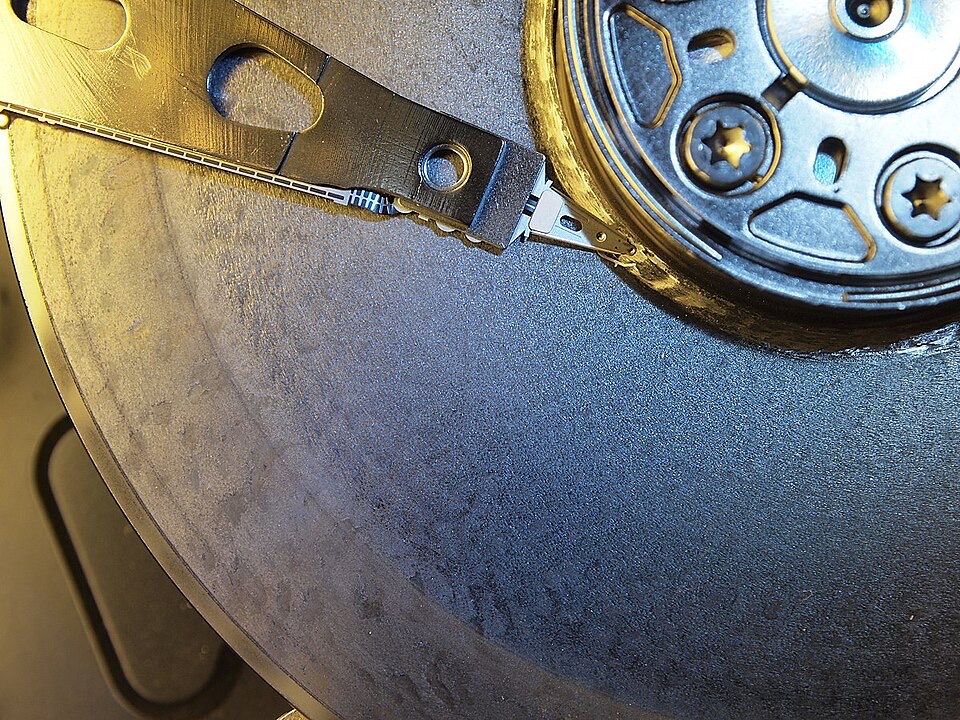
- Banner graphic from Wikimedia Commons3Wikimedia Commons contributors, “File:Hard disk failure.jpeg,” Wikimedia Commons, https://commons.wikimedia.org/w/index.php?title=File:Hard_disk_failure.jpeg&oldid=1133322498 (accessed May 4, 2026).

