
Will a 2019 Intel-based iMac (without the T2 security chip) happily run GNU/Linux? This was the question I set out to answer when we recently retired the first Mac we ever bought for our house.
The answer is YES.
But the details matter.
Background: Forced Obsolescence of Good Hardware
For-profit computer companies, especially those with flagship operating systems, have an observationally well-established track record of forced obsolescence, an aspect of a larger problem dubbed “enshittification” 1c.f. https://en.wikipedia.org/wiki/Enshittification. This is the practice of enticing customers to buy new, expensive hardware by making the old, reliable hardware seem like it’s not useful any more. This can be easily accomplished by adding new and hardware-hungry features to the user interface, which most people mistake for the operating system. This makes it seem that the hardware is aging out … when, in reality, it’s feature- or mission-creep in the interface, and sometimes in the OS, deliberately making the experience worse.
Whatever the real reason, the outcome is the same: a perfectly good computer gets thrown out, creating unnecessary waste. My goal was to save this iMac from the landfill or the recycling centre and, instead, give it a new life with GNU/Linux.
The situation was perfect: a pre-Apple Silicon, Intel-based computer made in the Apple style (sleek, aloof, un-modifiable), requiring no special builds of the Linux kernel or GNU operating system.
Step 1: Will it Linux?
A search on the web had all signs pointing to “Yes”. Multiple people have done this with older Apple hardware. As usual, the concerns found on the web had to do with a few features of any specialized hardware:
- BIOS-level security features: some Macs have “T2 chips” that inhibit the installation of an alternative OS. While a T2-encumbered computer has workarounds for this (e.g. disabling features in the system BIOS), our 2019 iMac had no such feature. Easy!
- Drivers/firmware for specific hardware: wifi chips, sound cards, etc. These are the usual problems on Linux when you don’t control the selection of hardware. I was prepared to deal with this.
So, in short, the indicators hinted at success.
Step 2: Migrate the iMac to a Mac Mini
The initiating event for this OS change was a new Mac Mini coming into the house to replace this iMac for the sole Mac user in the home, my partner. I had permission to then take the retired iMac and run the GNU/Linux experiment on it.
Originally, this machine was ZIPPY when it ran MacOS 10.2, the version available when I bought it as a Christmas present. It was downhill from there.
This Mac was now running MacOS 15.6.X after years of OS updates. The machine would take minutes to boot, then log in, then many more minutes to wait for the desktop apps to start so you can actually USE the machine. My partner was so resigned to this horrible behaviour that she built in extra coffee and chore breaks to fill the time until she could actually work on the computer.
That is SAD. No one should have to do that, just because the company decided to make the performance for 2019 hardware arbitrarily worse as the OS advanced. There was even a moment when my partner, so fed up with MacOS, hinted they might just switch back to Linux, which they used at home until 2019.
Anyway, we used the Migration Assistant to clone the old system to the new one. After some false starts, this went well. We verified that all data made it over to the new system, then moved the old iMac into a guest bedroom. There it sat for several days until there was more comfort that all data was cloned and safe.
Step 3: Boot from USB Thumb Drive
I really wanted to put Linux Mint Debian Edition (LMDE) on this system.
TLDR;
LMDE works just fine on this iMac, on a thumb drive or as the main OS. I tricked myself later into thinking that classic Linux Mint (LM6) was needed … the one based on Ubuntu, which is based on Debian. But, later, I discovered that LMDE would have been just fine because both LMDE and LM6 had the same underlying hardware challenges.
I already had an LMDE USB boot drive, so I popped it into the iMac. The Mac was powered off, so I powered it on. To get to the boot menu, you first power it on and then press and hold the “Option” key on a Mac keyboard. I had a “magic keyboard” from Apple around and used that, so I did not have to look up the mapping of the Apple “Option” key onto a standard keyboard.
I then selected my USB boot drive. LMDE booted without incident. I left it running that way for a few days to look for obvious low-hanging problems: locking up the desktop, slowing of the performance, etc. I detected nothing.
It was time to make the leap from the USB boot drive to the real system. I selected to install LMDE.
Step Four: Installing LMDE
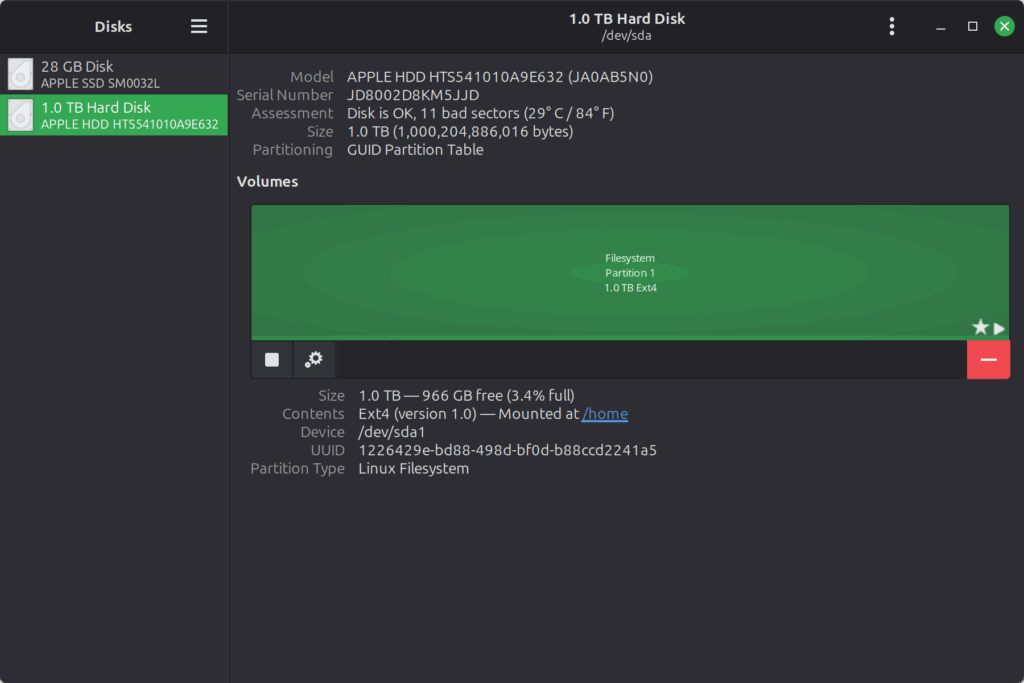
The 2019 iMac we purchased had a 1 TB Fusion Drive. This means that, under the hood, it has a small SSD (about 32 GB, with 28 GB usable) and a 1 TB HDD. It made sense to put the primary OS on the SSD and the home directories on the HDD. So, I selected to do a custom partitioning of the system and took manual control from the LMDE installer.
I made two partitions on the SSD. 1 GB was assigned to the /boot/efi area and setup as a FAT partition to accommodate the boot files. The rest was partitioned as EXT4 and set to hold the / filesystem (root filesystem). I set the boot flag on the /boot/efi partition.
I then made a single partition on the 1 TB HDD (magnetic/mechanical drive) that was also formatted as EXT4. I assigned this to hold /home for the OS.

I then proceeded with the normal install. Everything went completely smoothly, with no drama. A reboot brought me to LMDE, installed on the Mac. We were cooking!
The time from power on to boot was less than a minute. Logging in was fast, and the system was completely responsive. I had no complaints about the OS running on this hardware. It felt solid and responsive.
Step Five: Specialized Hardware and Linux
The main problems I noticed I had also noticed when I was booted into the USB stick-based OS. First, the sound card was not recognized. Only a “dummy sound card” was present, a software placeholder. Second, the wifi card was also not found. The ethernet port was working just fine, and tethering the Mac to my Android phone gave me a wireless connection (there is no ethernet port in this guest room). But out-of-the-box, there was no wifi for LMDE to use.
I did some digging around, and this is where I made my OS misstep. There was some chatter that using the Ubuntu Driver Manager “magically” solves the sound and wifi problems. So, I gritted my teeth and made an LM6 boot USB drive. I reinstalled the OS, this time with the Ubuntu-based Mint. I ran the driver manager, and this was what I saw every time.
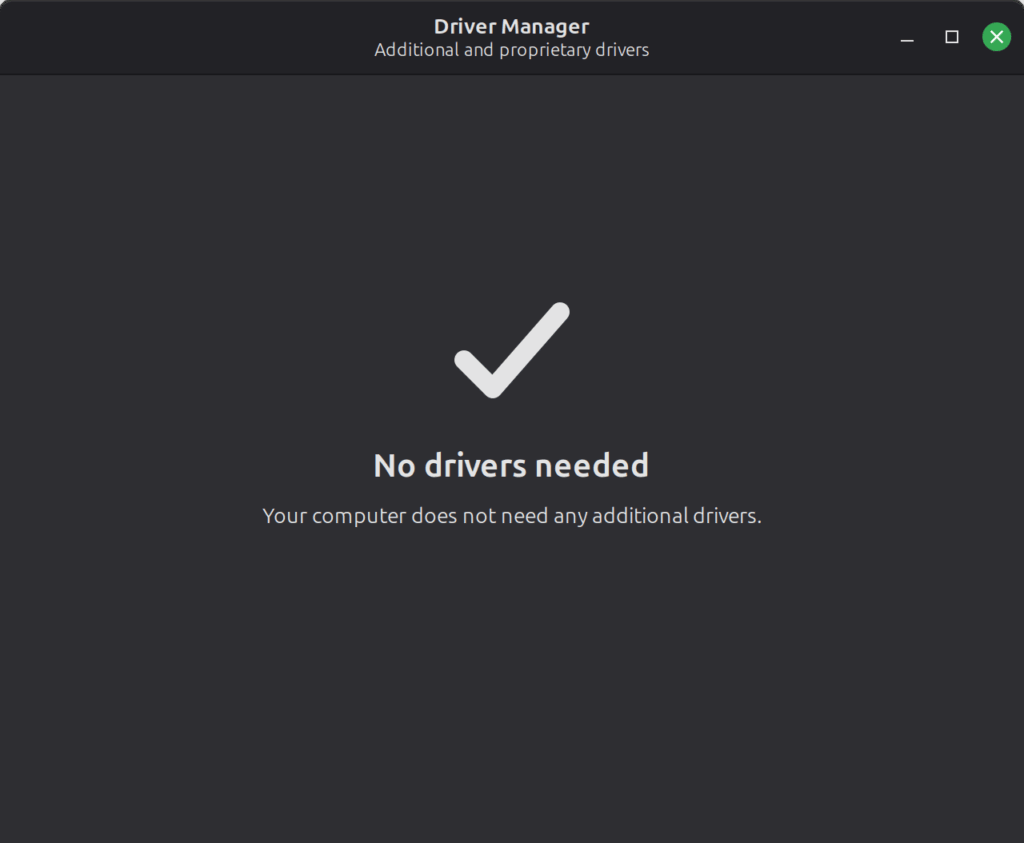
“No drivers needed. Your computer does not need any additional drivers.”
Womp womp.
That was a lie. Ubuntu bought me nothing, and in the end I regret not sticking with LMDE … but I am too lazy to start this all over again. 🙂
The real solution was to investigate the hardware and find firmware or drivers for them. This was done using the inxi tool:
inxi -zv8 | less
The key blocks of information for the wifi and sound devices were these (which here are captured AFTER getting drivers and firmware installed):
io:
  Device-1: Intel Cannon Lake PCH cAVS driver: snd_hda_intel v: kernel
    alternate: snd_soc_avs,snd_sof_pci_intel_cnl bus-ID: 00:1f.3
    chip-ID: 8086:a348 class-ID: 0403
  Device-2: AMD Baffin HDMI/DP Audio [Radeon RX 550 640SP / 560/560X]
    driver: snd_hda_intel v: kernel pcie: gen: 3 speed: 8 GT/s lanes: 8
    bus-ID: 01:00.1 chip-ID: 1002:aae0 class-ID: 0403
  API: ALSA v: k6.14.0-29-generic status: kernel-api
    tools: alsactl,alsamixer,amixer
  Server-1: PipeWire v: 1.0.5 status: n/a (root, process) with:
    1: pipewire-pulse status: active 2: wireplumber status: active
    3: pipewire-alsa type: plugin tools: pactl,pw-cat,pw-cli,wpctl

Network:
  Device-1: Broadcom BCM4364 802.11ac Wireless Network Adapter vendor: Apple
    driver: brcmfmac v: kernel modules: wl pcie: gen: 1 speed: 2.5 GT/s lanes: 1
    bus-ID: 03:00.0 chip-ID: 14e4:4464 class-ID: 0280
Wireless Device
The kernel module for this wifi card is already there. It’s the brcmfmac module. However, it lacks the firmware it needs to actually interface with the card.
I found the firmware for the wifi card here:
https://github.com/NoaHimesaka1873/apple-bcm-firmware/releases
The next step was to download the most recent ZST file (version 14.0 as of the writing of this post) and then unpack it:
tar --use-compress-program=unzstd -xvf apple-bcm-firmware-14.0-1-any.pkg.tar.zst
sudo cp -r usr/lib/firmware/brcm /lib/firmware/
However, trying to load the bcrmfmac kernel module led to these errors in the system log:
sudo modprobe brcmfmac
dmesg | grep brcmfmac

[    3.414065] brcmfmac 0000:03:00.0: enabling device (0000 -> 0002)
[    3.523882] brcmfmac: brcmf_fw_alloc_request: using brcm/brcmfmac4364b2-pcie for chip BCM4364/3
[    3.529575] brcmfmac 0000:03:00.0: Direct firmware load for brcm/brcmfmac4364b2-pcie.txt failed with error -2
The key was the line mentioning a missing file, “brcm/brcmfmac4364b2-pcie.txt”. This file is not included in the firmware. Instead, you have to create it by pointing the appropriate .txt file in the brcm firmware folder.
The folder has a dizzying array of choices. For example:
brcmfmac4355c1-pcie.apple,hawaii-YSBC-m-2.3.txt
brcmfmac4355c1-pcie.apple,hawaii-YSBC-m-2.5.txt
brcmfmac4355c1-pcie.apple,hawaii-YSBC-u-4.1.txt
brcmfmac4355c1-pcie.apple,hawaii-YSBC-u-4.3.txt
brcmfmac4364b2-pcie.apple,ekans-HRPN-m-5.1.txt
brcmfmac4364b2-pcie.apple,ekans-HRPN-m-6.1.txt
brcmfmac4364b2-pcie.apple,ekans-HRPN-m-6.3.txt
brcmfmac4364b2-pcie.apple,ekans-HRPN-m-7.1.txt
brcmfmac4364b2-pcie.apple,ekans-HRPN-m-7.3.txt
brcmfmac4364b2-pcie.apple,ekans-HRPN-m-7.5.txt
brcmfmac4364b2-pcie.apple,ekans-HRPN-m-7.7.txt
brcmfmac4364b2-pcie.apple,ekans-HRPN-u-1.1.txt
brcmfmac4364b2-pcie.apple,ekans-HRPN-u-6.1.txt
brcmfmac4364b2-pcie.apple,ekans-HRPN-u-7.1.txt
brcmfmac4364b2-pcie.apple,ekans-HRPN-u-7.3.txt
brcmfmac4364b2-pcie.apple,ekans-HRPN-u-7.5.txt
brcmfmac4364b2-pcie.apple,hanauma-HRPN-m.txt
brcmfmac4364b2-pcie.apple,hanauma-HRPN-u.txt
brcmfmac4364b2-pcie.apple,kahana-HRPN-m.txt
brcmfmac4364b2-pcie.apple,kahana-HRPN-u.txt
.
.
.
(there are even more!)
A very useful post that gave me some key information (which I report here) was this: https://www.reddit.com/r/Ubuntu/comments/1ahs58o/installing_broadcom_bcm4364_drivers_on_a_macmini/
The main thing to know is that after you copy the firmware files to their destination location, you have to symbolically link the CORRECT firmware file for your wifi card to a specific filename that the kernel driver looks for. To determine which one to link you, you need to know the CODENAME of your hardware! Here is a non-exhaustive list:
 This chip exists in two revisions (B2=r3 and B3=r4) on different
platforms, and was added without regard to doing proper firmware
selection or differentiating between them. Fix this to have proper
per-revision firmwares and support Apple NVRAM selection.
Revision B2 is present on at least these Apple T2 Macs:
kauai: MacBook Pro 15" (Touch/2018-2019)
maui: MacBook Pro 13" (Touch/2018-2019)
lanai: Mac mini (Late 2018)
ekans: iMac Pro 27" (5K, Late 2017)
And these non-T2 Macs:
nihau: iMac 27" (5K, 2019)
Revision B3 is present on at least these Apple T2 Macs:
bali: MacBook Pro 16" (2019)
trinidad: MacBook Pro 13" (2020, 4 TB3)
borneo: MacBook Pro 16" (2019, 5600M)
kahana: Mac Pro (2019)
kahana: Mac Pro (2019, Rack)
hanauma: iMac 27" (5K, 2020)
kure: iMac 27" (5K, 2020, 5700/XT)
Mine was “nihau”, the 2019 Intel-based iMac (though ours is the 21.5″ edition, NOT the 27″ edition … that didn’t matter). The procedure, then, was simple:
cd /lib/firmware/brcm/
ls *brcmfmac4364b2*.txt | grep -i nihau
ln -s brcmfmac4364b2-pcie.apple,nihau-HRPN-u.txt brcmfmac4364b2-pcie.txt
There are two nihau files in here, one with “-u” in the name (the one I used) and the other with “-m”. How did I pick the right one? I guessed. I got it right on the first try. I actually don’t know the difference between the “-m” and “-u” variants.
Sound Card
For the sound card, some detective work on the web turned up the custom hardware driver here:
https://github.com/egorenar/snd-hda-codec-cs8409.git
I followed the build instructions, which were simple:
sudo su # login as superuser
cd /opt
mkdir macos-sound-card
cd macos-sound-card
git clone https://github.com/egorenar/snd-hda-codec-cs8409.git
cd snd-hda-codec-cs8409/
make
make install
I then loaded the driver:
modprobe snd-hda-codec-cs8409
While there were no errors, in the end, the right thing to do to get the OS to see the card was to fully reboot the system. So, after you install the driver and test it for errors on loading, just reboot the computer. The card came right up and I started hearing desktop sounds immediately. Playing music, streaming radio, etc. all just worked!
Final Thoughts

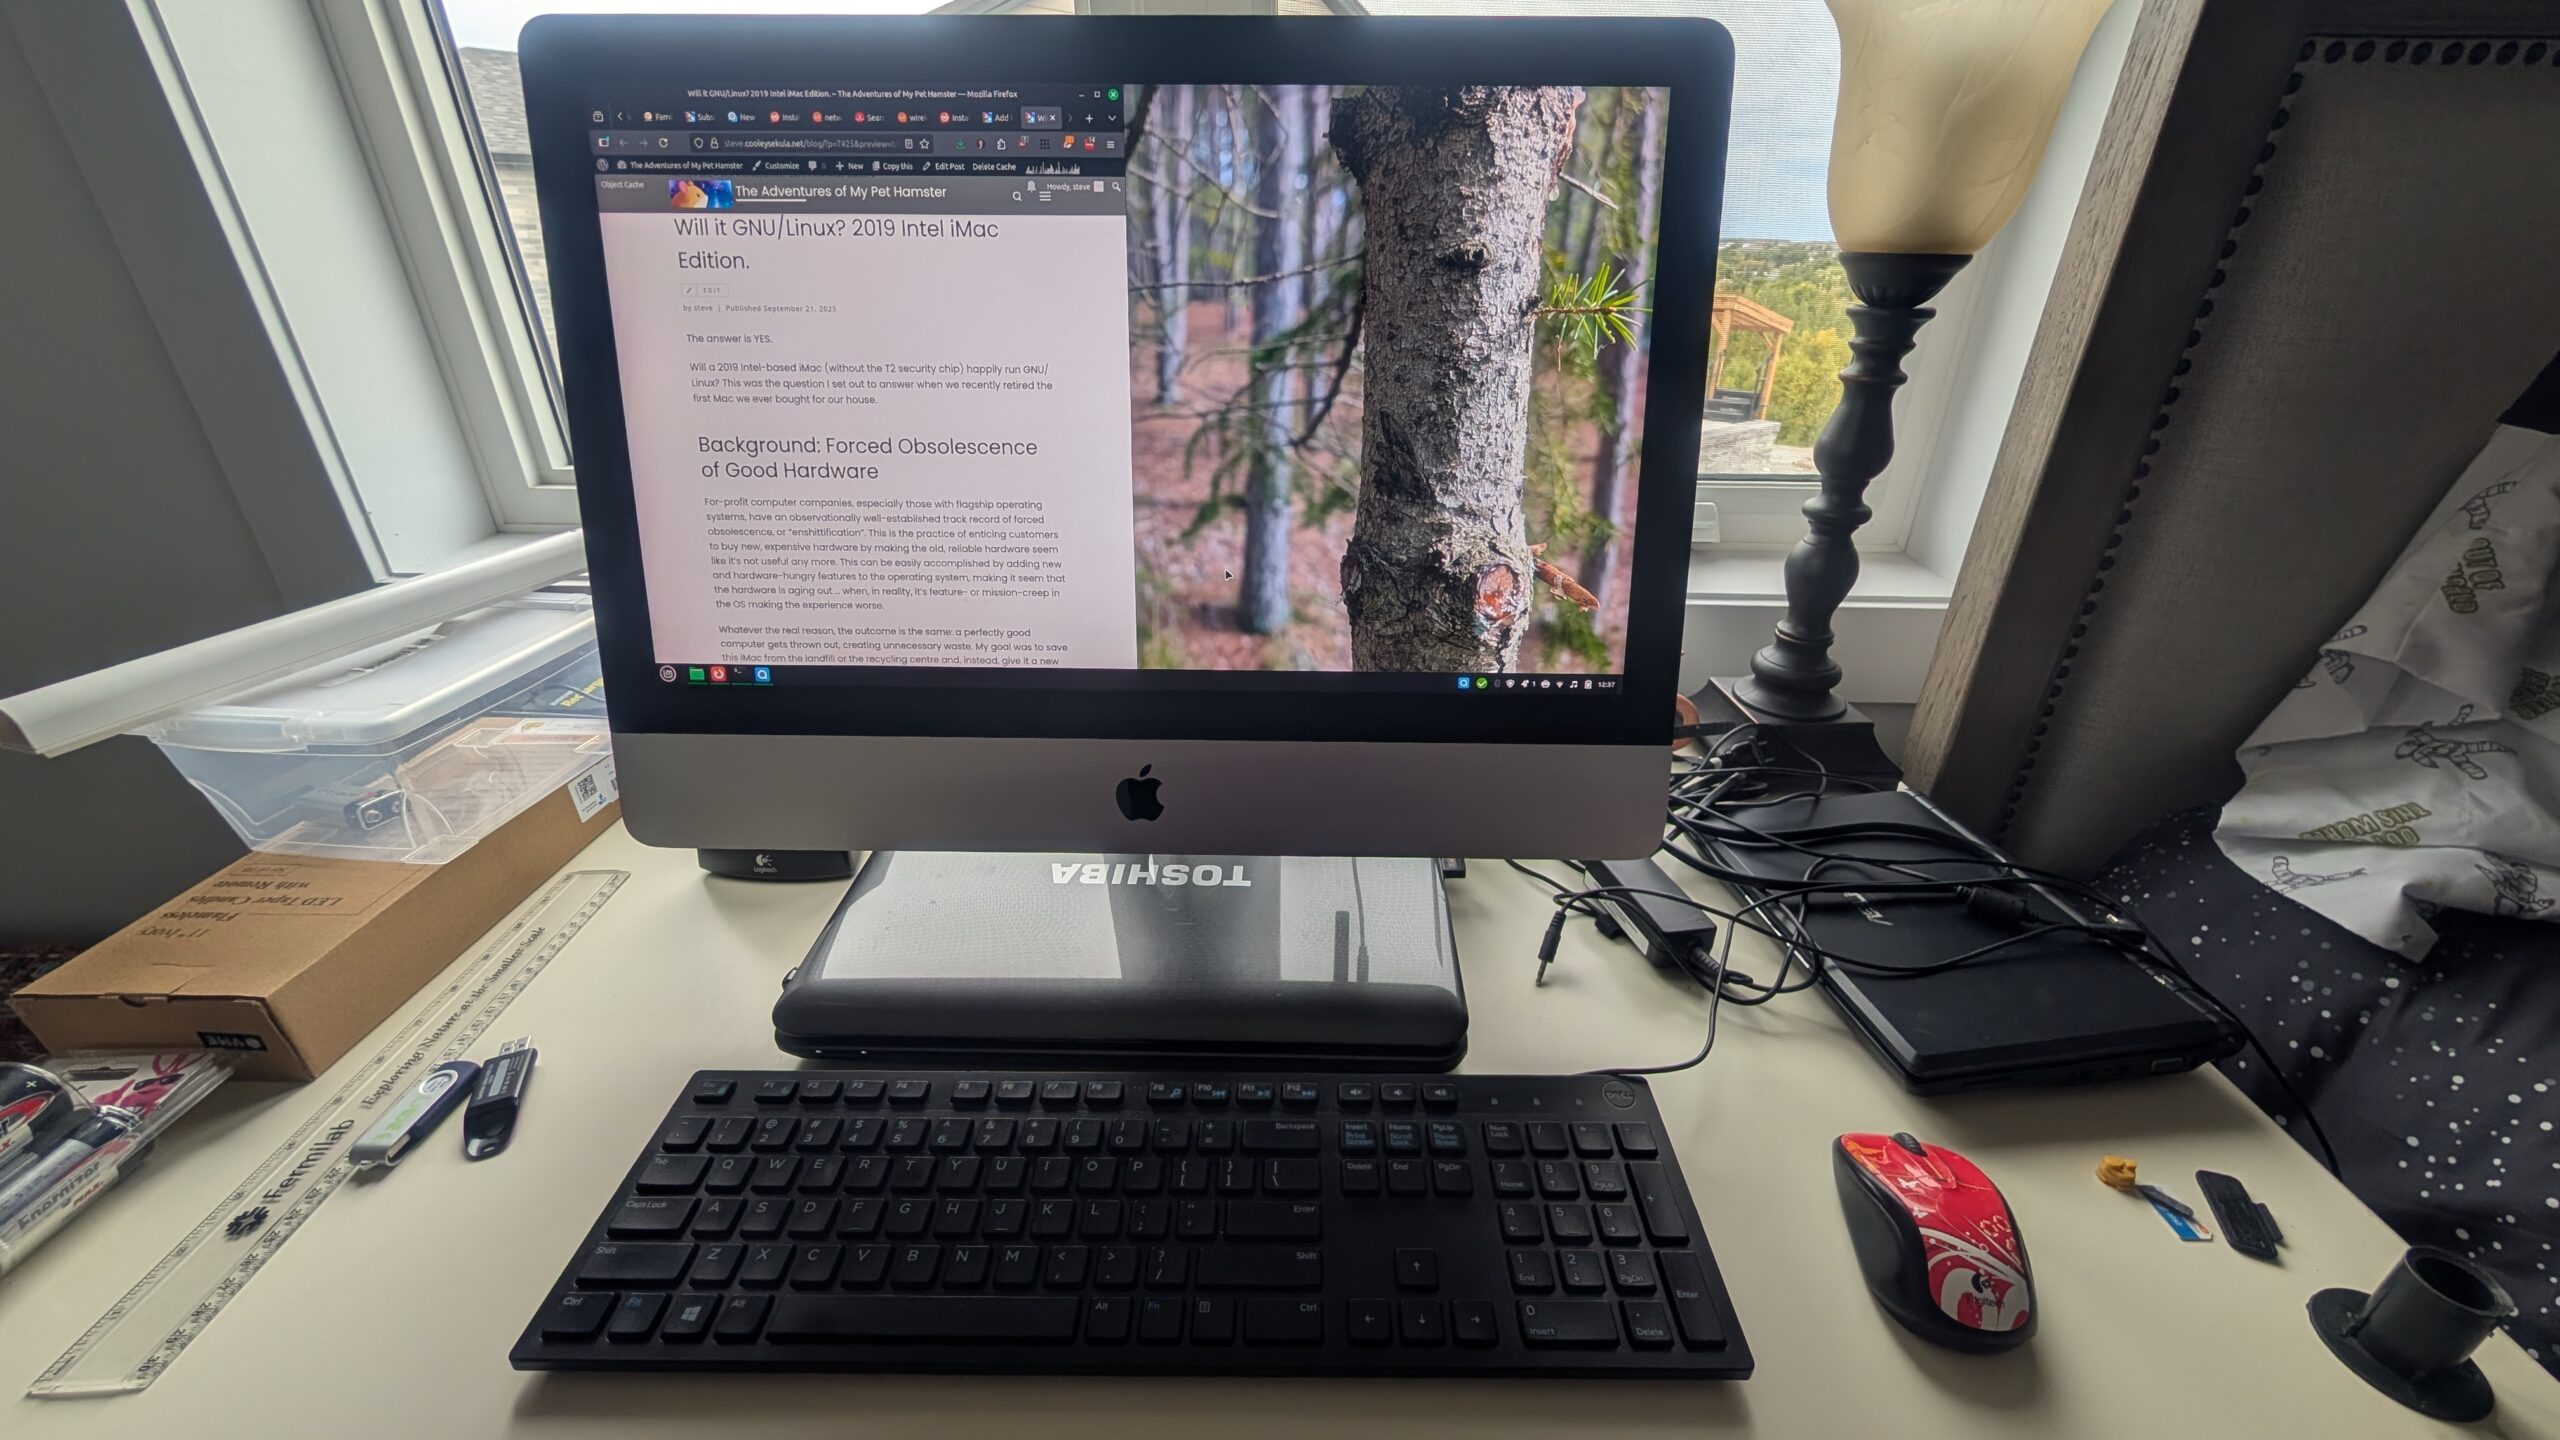
I would say this was quite a success over all. After all, I am writing this post from this machine, using the built-in wifi to connect to my blog server while streaming radio and listening to that on the built-in sound card.
It is pleasing to save good hardware from bad business decisions. I will note that the Toshiba laptop in the featured photo for this post (tucked under the Mac) is also recently saved from the Windows 10-to-11 transition (the machine is so old it probably ran Windows 7 or 8, and it BARELY functioned after the transition to 10 … 11 was non-starter). Linux Mint Debian Edition is my go-to version these days, though I erroneously thought I needed LM6 for this Mac. I actually didn’t, and you don’t either, if you are more of a Debian purist.
For me, running Debian is reconnecting to my own roots in my GNU/Linux journey (I started with Debian in 1997), but you are welcome to do what you like. After all, that is the power of the GNU/Linux and open-source software movement … you can install whatever variant you like. These instructions should work in any release, with variations on what tools you use to interrogate hardware, etc. at the OS level.